There’s something about a well-crafted piece of joinery that makes your heart skip a beat. It could be the way the wood is perfectly inlaid or the seamless way it all comes together – whatever it is; there’s nothing quite like it. If you’re looking to create stunning pieces of joinery construction yourself, look no further! In this blog post, we will discuss nine unique techniques that will help you achieve stunning results. So get ready to learn some new skills, and start creating beautiful pieces of furniture that will amaze your friends and family!
Joinery is a term used in woodworking that refers to the techniques used to connect two pieces of wood. It is an essential part of any woodworking project, as it ensures that your project will be sturdy and durable. There are many different types of joinery, each with its advantages and disadvantages.
The nine incredible joinery techniques, with step-by-step instructions.
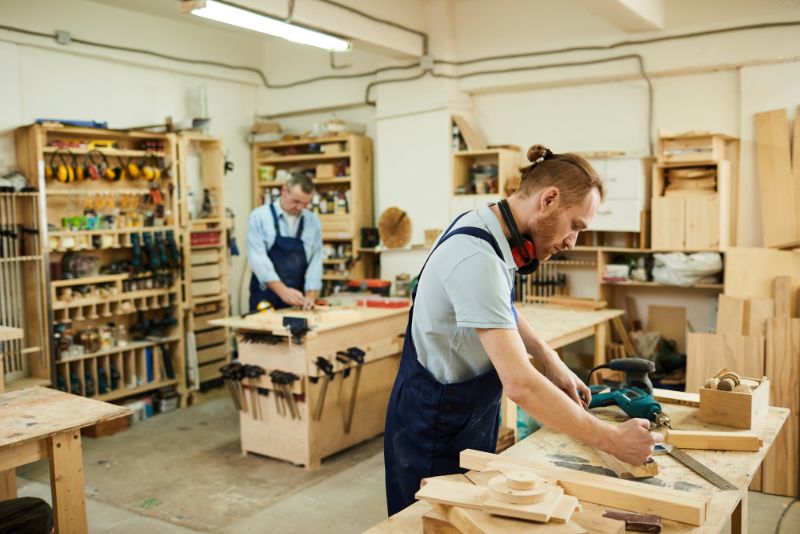
There are many different types of joinery construction techniques. Calen, a carpenter for twelve years before starting out as a solar panel installer at Solar Panels Newcastle, explained his most popular techniques to us.
1. Dovetail Joints
Dovetail joints are one of the strongest and most popular types of joinery. They are created by interlocking two pieces of wood at an angle, forming a strong and sturdy joint.
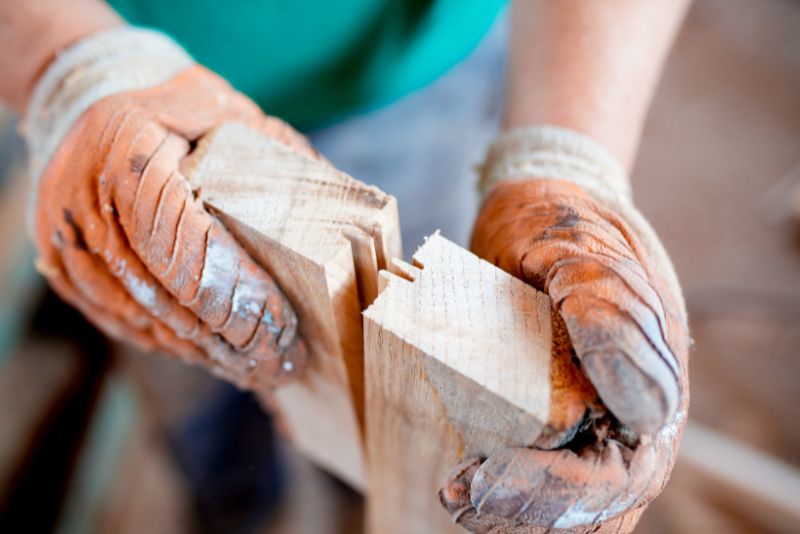
2. Mortise and Tenon Joints
Mortise and tenon joints are another popular type of joinery. They are created by inserting a tenon (a piece of wood that fits into a mortise) into a hole cut into the edge of another piece of wood. The joint is then secured with glue or pins.
3. Biscuit Joints
Biscuit joints are a simple and strong type of joinery created by inserting a small, round piece of wood (called a biscuit) into a hole in two pieces of wood. The biscuit expands as it absorbs moisture from the glue, creating a tight bond between the two pieces of wood.
4. Butt Joints
Butt joints are the simplest type of joinery and are created by simply joining two pieces of wood together at their ends. While butt joints are not as strong as other types, they can be reinforced with dowels, screws, or nails.
5. Dowel Joints
Dowel joints are created by inserting dowels (small wooden rods) into holes drilled in two pieces of wood. The dowels are glued in place, and the joint is reinforced with clamps until the glue dries.
6. Lap Joints
Lap joints are created by overlapping two pieces of wood and securing them together with nails, screws, or dowels. This joint is often used to join two pieces of wood at right angles.
7. Tongue and Groove Joints
Tongue and groove joints are created by interlocking two pieces of wood. The tongue is a small projection on one piece of wood that fits into a groove on the other piece. This type of joint is often used in flooring or panelling applications.
8. Dado Joints
Dado joints are created by cutting a groove (dado) into one piece of wood and fitting another piece into the groove. The joint is secured with nails, screws, or dowels. This type of joint is often used to join shelves to a cabinet or bookcase.
9. Mitre Joints
Mitre joints are created by joining two pieces of wood at an angle. The most common mitre joint is a 45-degree angle. Mitre joints are often used in framing applications.
How to choose the proper joinery technique for your project.
The type of joinery you use will depend on the type of wood and project you are working on. If you are creating a piece of furniture, you will need to consider the weight of the piece and the type of wood you are using. You can use any type of joinery for a smaller project, like a box or cabinet. However, for a larger project, like a table or dresser, you will need to choose a stronger joint.
There are many different types of joinery techniques that can be used to create stunning results. The key is to choose the proper technique for your project and to practice your skills until you have perfected them. With a little bit of effort, you can create beautiful pieces that will last for generations.
Tips for creating stunning results with your joinery construction techniques.
- Choose the proper technique for your project. There is no one perfect joinery construction technique. The key is to select the best technique for your particular project.
- Practice makes perfect. As with anything else in life, the more you practice, the better you will become at using your chosen technique.
- Take your time. Rushing through a project will only lead to mistakes and subpar results.
- Pay attention to detail. The small details are what will really make your project stand out from the rest.
- Have patience. Rome wasn’t built in a day, and neither will your masterpiece! Allow yourself enough time to complete your project without rushing it.
To conclude
When it comes to joinery techniques, there are a variety of options to choose from. However, not all techniques will be the right fit for every project. By understanding the different types of joints and how they work, you can select the proper technique for your next woodworking project and create stunning results. We hope you’ve found this guide helpful and that you will put these skills into practice on your next woodworking project.